Accurate analytics are essential for understanding how customers interact with your Shopify store. Without reliable tracking, it becomes difficult to measure marketing performance, identify checkout drop-off points, or understand which products and collections drive revenue. Learning how to set up Google Analytics on Shopify correctly gives merchants the data needed to make informed decisions about growth, marketing, and conversion optimization.
Fortunately, the days of copying and pasting complex code blocks into your liquid templates are over. Shopify and Google now provide a more straightforward integration process through the official Google & YouTube sales channel. Following the correct setup process helps ensure your reports remain accurate and consistent.
Why Older Tracking Methods Often Cause Reporting Issues
Many long-time e-commerce managers still try to hardcode tracking scripts directly into their theme headers or use outdated plugins. These older tracking methods frequently break whenever a theme updates or a checkout layout undergoes customization.

Relying on manual theme code injections to implement your tracking configuration creates immediate reporting discrepancies. Duplicate script tags can double-count sessions, inflate your conversion metrics artificially, and skew your baseline traffic reports. To protect the integrity of your analytics, you must use Shopify’s official integration that isolates data tracking from your theme files.
How to Set Up Google Analytics on Shopify
Setting up Google Analytics requires establishing a clean link between your store backend and your analytics property. By completing each step carefully, you can reduce reporting inconsistencies.
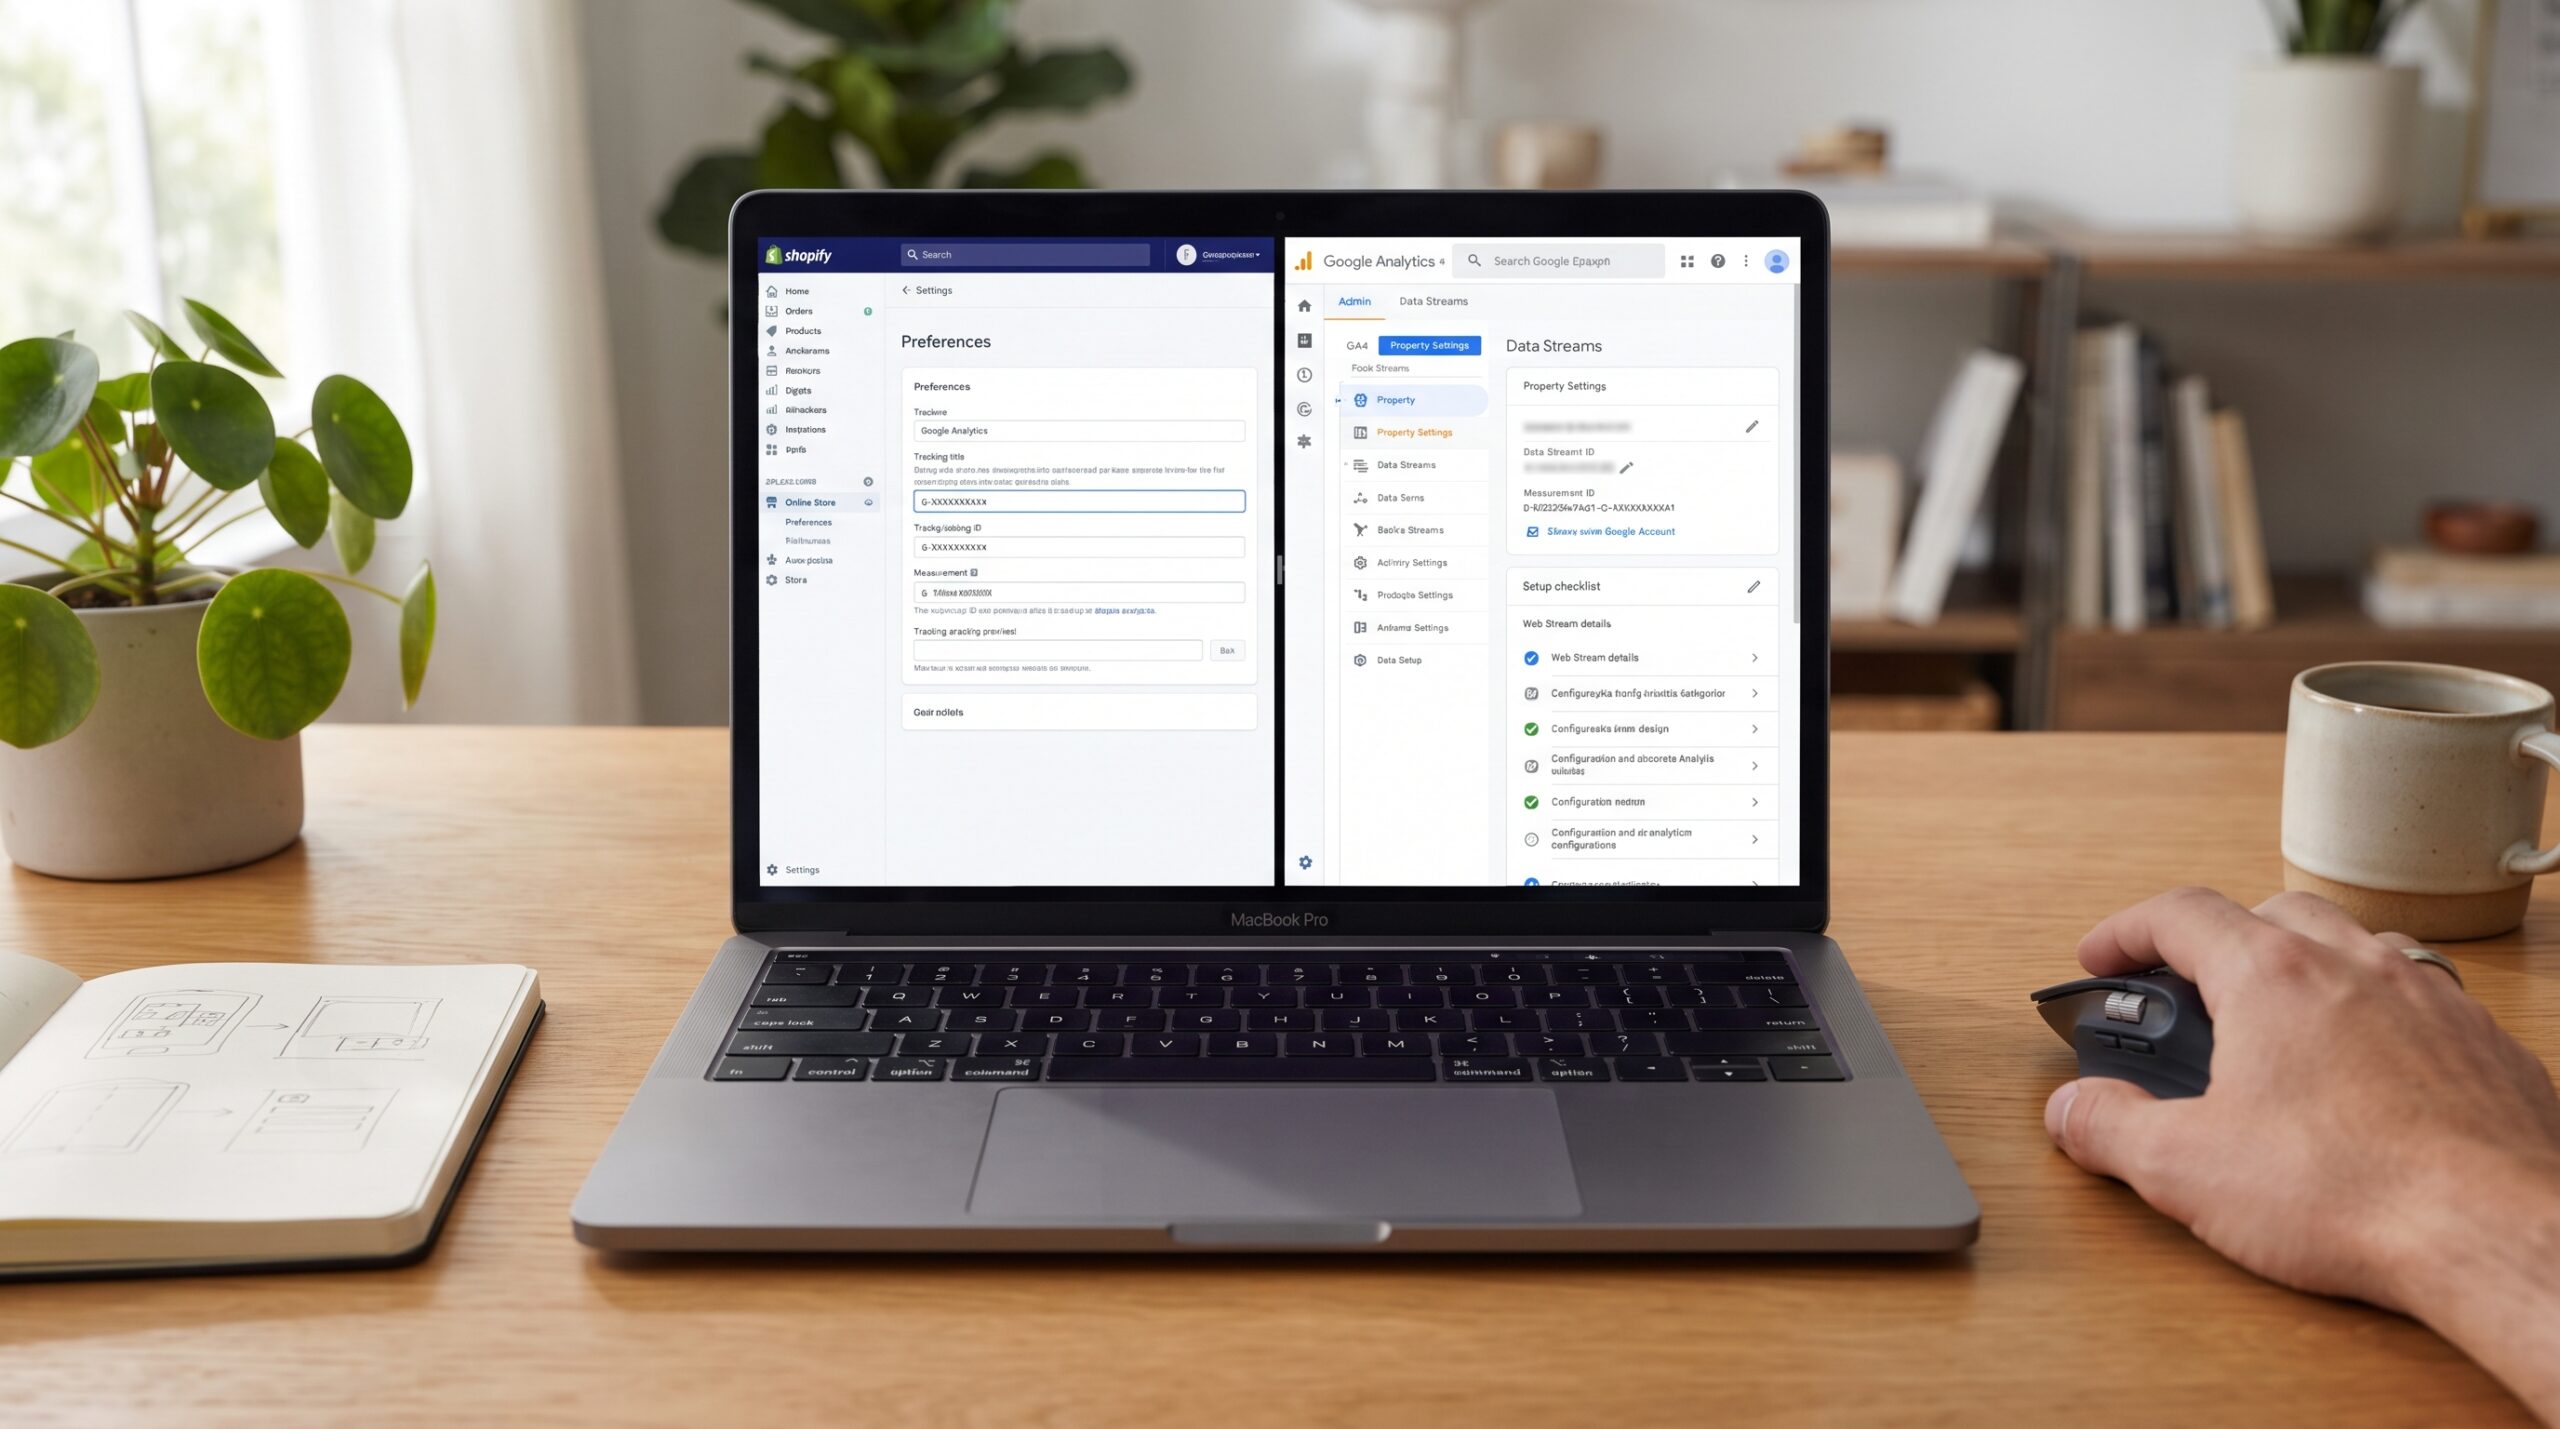
1. Generating Your Measurement ID
Before touching your storefront settings, you must configure a Google Analytics 4 (GA4) property inside your Google Analytics Account. Create a dedicated property matching your store name, set your reporting timezone, and align the default currency with your checkout settings. Next, establish a Web Data Stream using your primary custom domain. Once the stream is created, copy the unique Measurement ID formatted as G-XXXXXXXXXX.
2. Installing the Native Sales Channel
Once your Measurement ID is active, log into your admin panel to connect the integration. If you want to know how to set up Google Analytics on Shopify using native elements, the workflow requires utilizing the official application marketplace rather than modifying backend theme files.
1.Install the Official Channel App:
Navigate to the App Store within your admin panel. Search for the official Google & YouTube channel developed by Shopify and click install. This app securely connects your Shopify store with Google Analytics.
2.Authenticate Your Google Identity:
Open the newly installed channel from your left-hand sales channels menu. Click Connect Google Account and sign in with the specific credentials that hold administrative access to your analytics property.
3.Link the Data Stream:
Locate the Google Analytics section within the channel interface. Choose the correct property from the dropdown menu that matches your copied Measurement ID, then click Connect to complete the connection.
Password Protection Warning: Google Analytics cannot crawl your store pages or log active user sessions if your storefront is locked behind an administrative password page. Ensure your site is live to the public before attempting to verify your real-time tracking signals.
Common Tracking Issues Shopify Merchants Should Watch For
Once the native connection is live, you must address several tracking and performance considerations. Running multiple tracking tools requires balancing accurate reporting with site performance.
1. Optimizing Script Delivery for Page Performance
Every pixel, script, and external tag you load on your storefront consumes precious browser resources. If your tracking tags are poorly sequenced, they can delay your Largest Contentful Paint (LCP) and cause frustrated visitors to bounce. Implementing a specialized shopify speed optimization plan allows you to lazy-load non-critical scripts, ensuring your site remains responsive while maintaining consistent tracking across the store.
2. Managing Checkout Extensibility Event Parameters
A common pain point for scaling brands is tracking users through custom checkouts. When implementing custom elements or advanced apps via shopify custom features development, standard event triggers can sometimes fail to pass checkout parameters cleanly. Ensuring your custom application pixels align with the platform’s native event specifications prevents revenue attribution drops during checkout stages.
3. Resolving Advanced Tracking Problems
If your business uses multiple advertising channels and customer journeys, basic out-of-the-box tracking solutions may leave missing data in reports. For merchants who find themselves overwhelmed by custom event rules, cross-domain referral exclusions, or server-side API setups, investing in professional shopify consulting can help audit your tag manager implementation and improve reporting accuracy between your ad platforms and your store database.
Essential Core Events Tracked Automatically
The official integration automatically tracks many of the core e-commerce events required by most Shopify stores. You do not need to manually configure variables to capture core user behaviors.
| Event Name | Trigger Action | E-commerce Significance |
|---|---|---|
| Page View | A user lands on any index or collection URL. | Tracks top-of-funnel traffic volume. |
| View Item | A customer views a specific product detail page. | Measures individual product discovery interest. |
| Add to Cart | A visitor selects a variant and adds it to their cart. | Quantifies high-intent buying consideration. |
| Begin Checkout | The user initiates the payment and shipping sequence. | Pinpoints initial checkout drop-off rates. |
| Purchase | The confirmation page renders after a successful order. | Feeds exact revenue data back to your dashboard. |
Conclusion
Implementing how to set up Google Analytics on Shopify configurations is only the first phase of a scalable data infrastructure. Cultivating a reliable reporting environment ensures your marketing team isolates high-performing channels while eliminating checkout attribution blind spots. Executing this GA4 integration correctly gives your brand a clean data pipeline to support long-term CRO testing and storefront growth.
If your brand requires a deep tracking audit, an omni-channel pixel overhaul, or custom event tracking development, the optimization team at Zissu Global is here to improve your tracking setup. Contact us today to discover how our custom online store development and conversion rate optimization services can stabilize your tracking infrastructure and protect your marketing attribution.